来源:深圳沃龙软件开发公司 2017-05-05
一、下载MySQL5.7 源安装包
通过 wget http://dev.mysql.com/get/mysql57-community-release-el7-8.noarch.rpm 这个命令下载,如下图:

二、安装MySQL5.7源
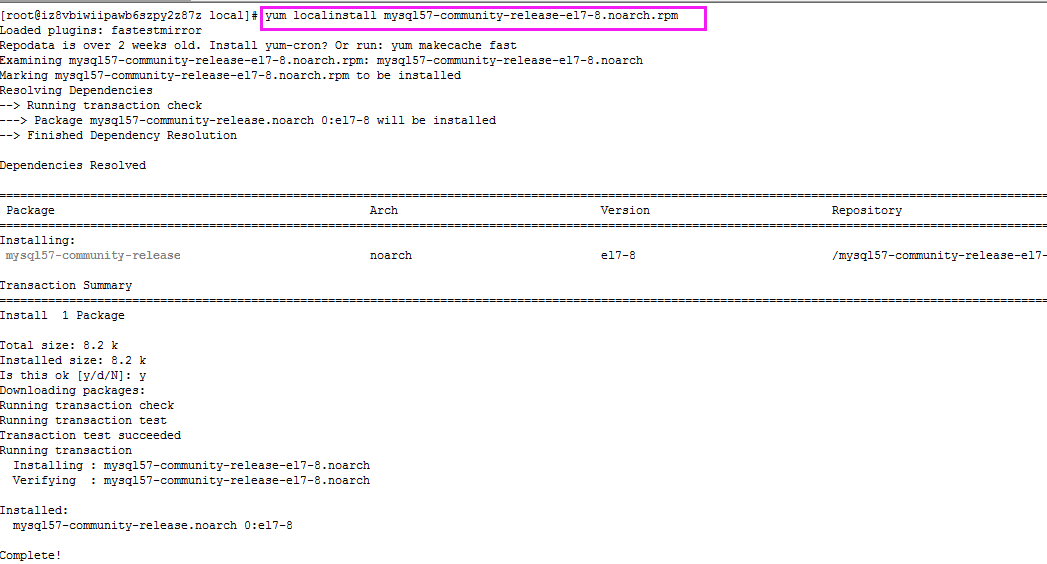
通过 yum localinstall mysql57-community-release-el7-8.noarch.rpm 命令来安装,如下图

三、检查MySQL源是否安装成功
通过 yum repolist enabled | grep "mysql.*-community.*" 命令检查是否安装成功,如下图表示MySQL源已安装成功

四、安装MySQL5.7 服务
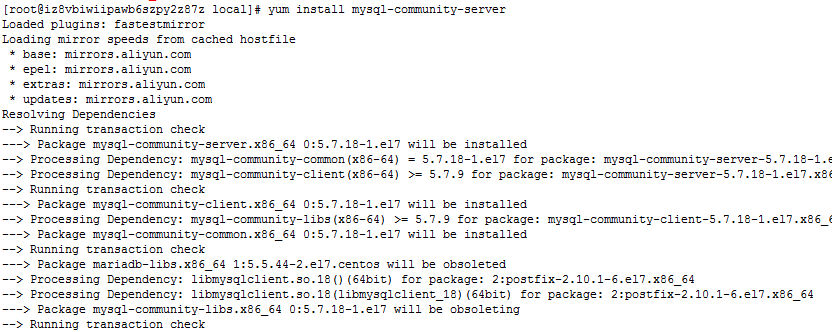
通过 yum install mysql-community-server 命令安装MySQL服务,如下图:

五、启动MySQL服务
通过 systemctl start mysqld 命令来启动服务,
通过 systemctl status mysqld 检查是否已启动成功

六、开机启动
shell> systemctl enable mysqld
shell> systemctl daemon-reload
七、修改MySQL root默认密码
mysql安装完成之后,在/var/log/mysqld.log文件中给root生成了一个默认密码,我们打开该文件,在如下图红色标记部分,会看到默认密码

此时,我们登录MySQL,修改root密码,通过如下命令:
shell> mysql -uroot -p
mysql> ALTER USER 'root'@'localhost' IDENTIFIED BY 'NewPassword!';
重启:systemctl restart mysqld 生效
八、允许远程链接
在本机先使用root用户登录mysql:
mysql -u root -p"youpassword"
进行授权操作:
mysql>GRANT ALL PRIVILEGES ON *.* TO 'root'@'%' IDENTIFIED BY 'youpassword' WITH GRANT OPTION;
重载授权表:
FLUSH PRIVILEGES;
退出mysql数据库:
exit
注意:另外还需防火墙开放3306端口,具体操作如下:
shell>firewall-cmd --zone=public --add-port=3306/tcp --permanent
shell>firewall-cmd --reload
修改/etc/my.cnf配置文件,在[mysqld]下添加编码配置,如下所示:
重启:systemctl restart mysqld 生效
本内容皆为 深圳沃龙软件开发公司 原创
如需转载,请注明文章出处和来源网址:http://www.wooolong.com/blog/10.html
发表评论